Email: sales@michaeldark.co.uk | Telephone: 01626 334134
 Fresh Flowers Trade Login
How to Make a Wreath: A Step by Step Guide for Beginners
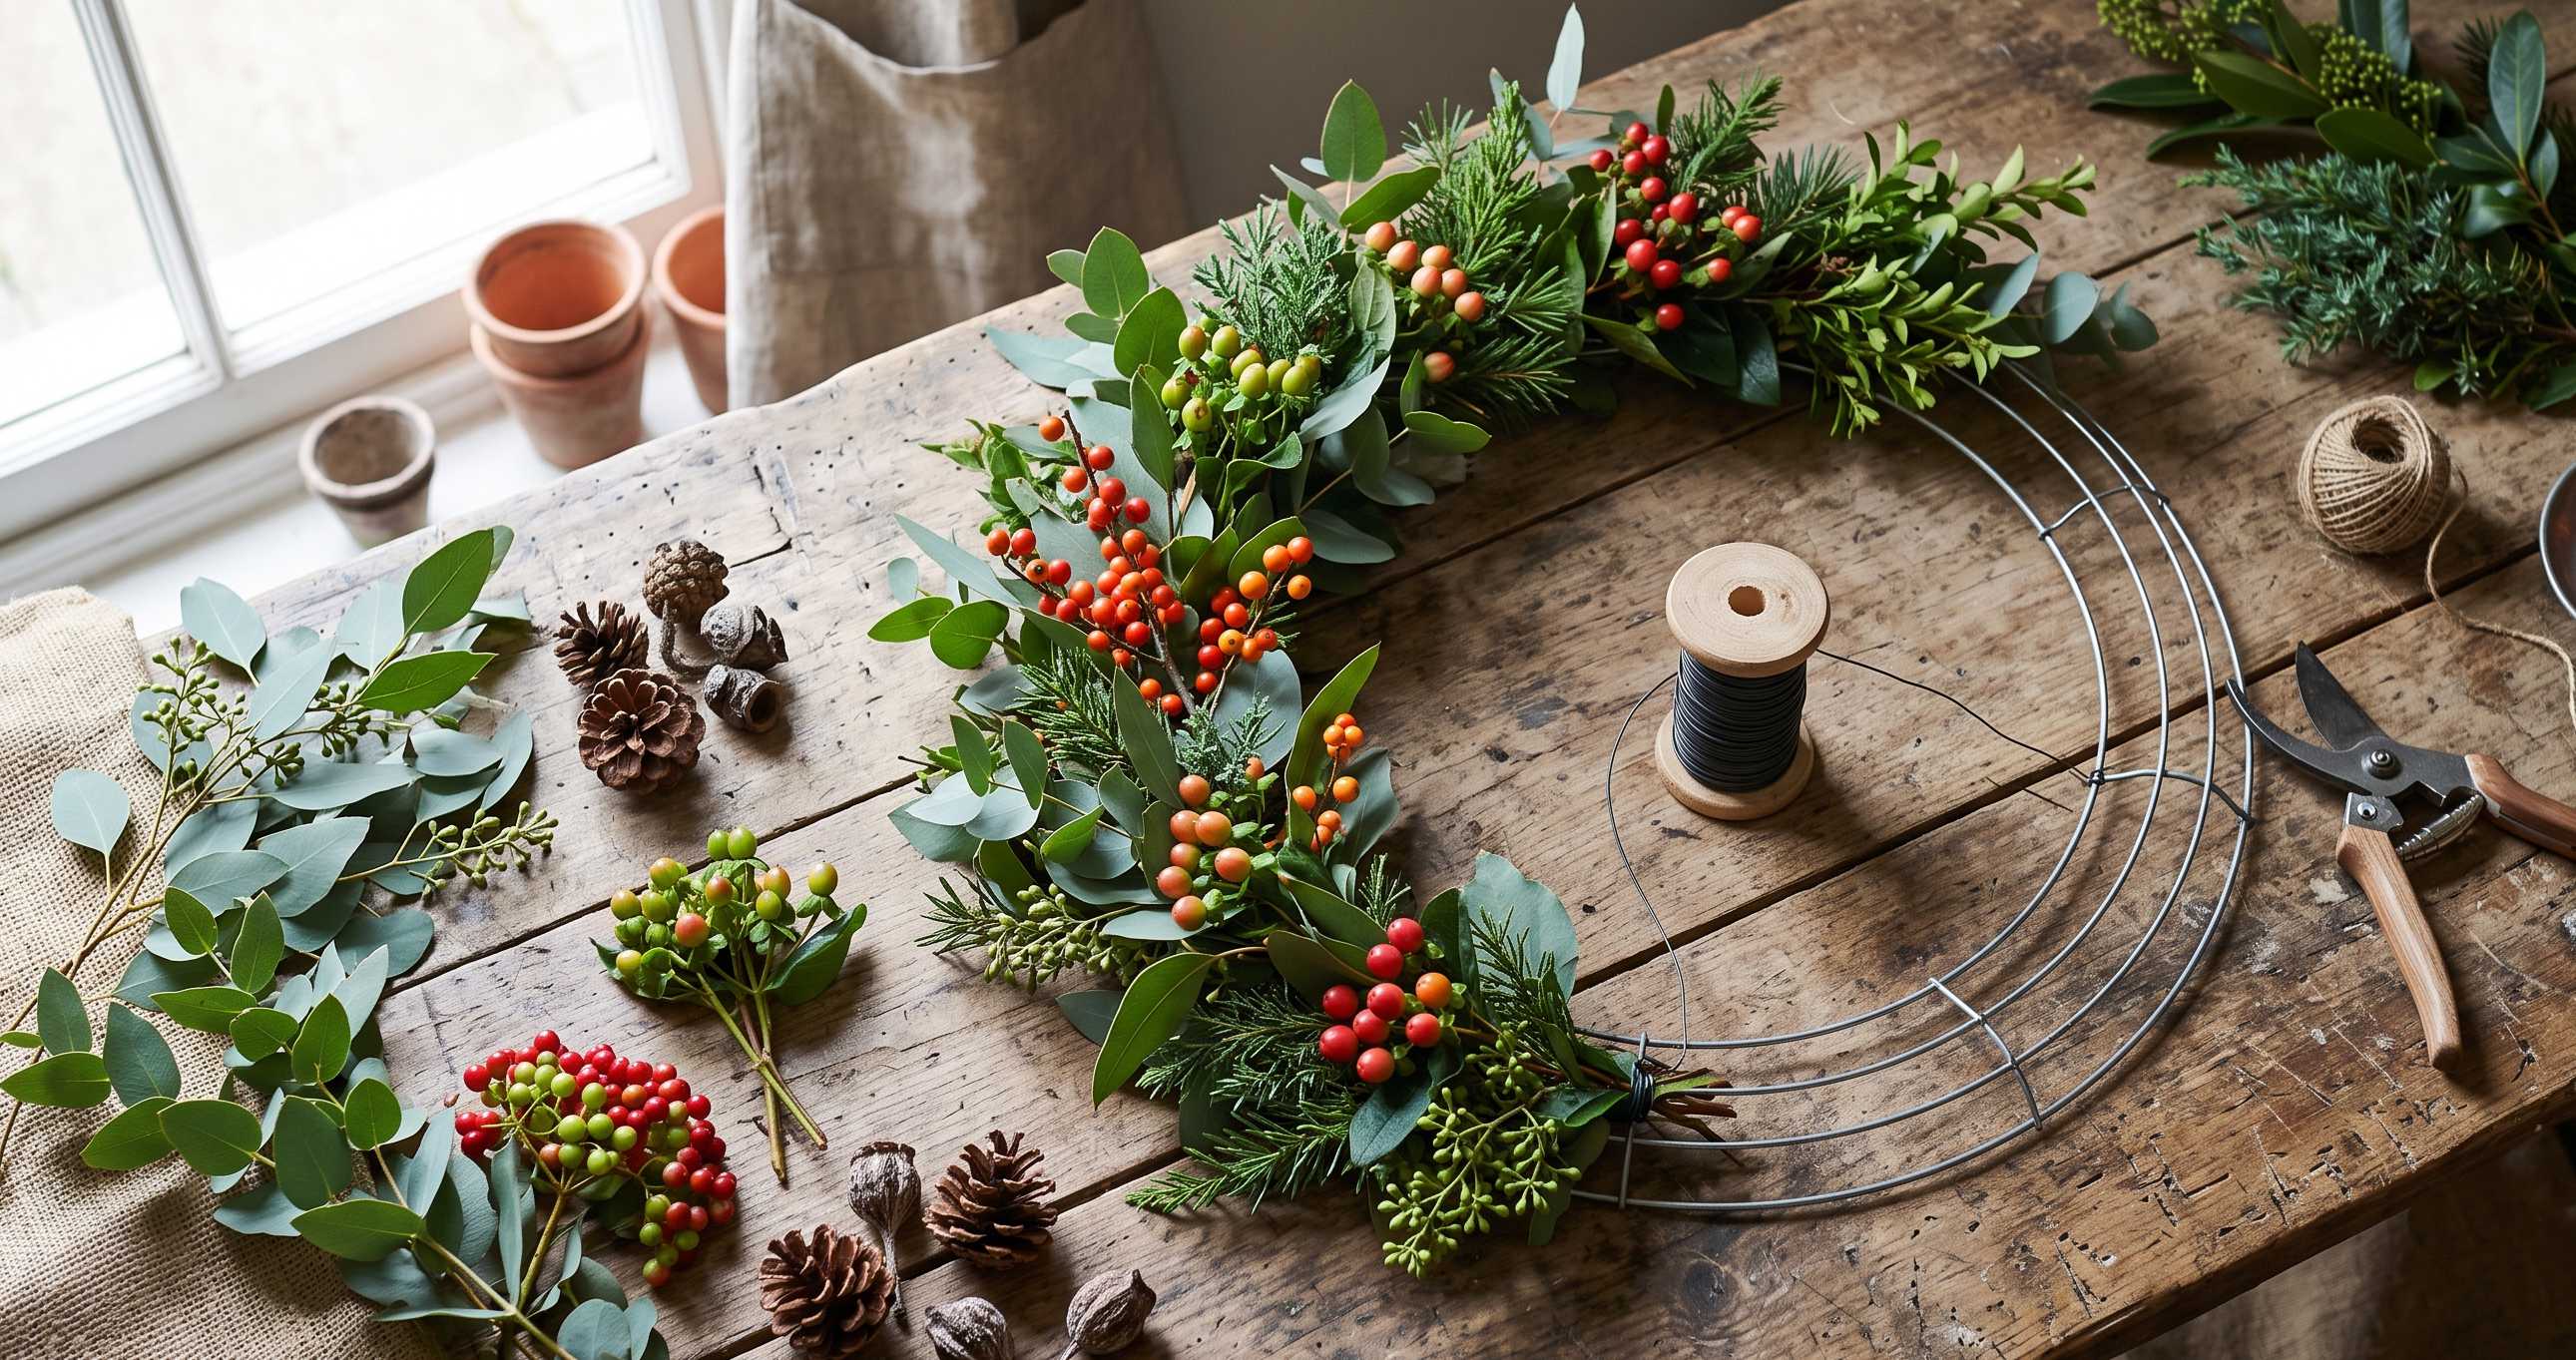
A beginner's guide to wreath making. Learn what supplies you need, follow step by step instructions, and find seasonal wreath ideas for every occasion.
Wreath making is one of those skills that looks complicated from the outside but is surprisingly straightforward once you understand the basics. Whether you are a florist adding wreaths to your workshop offering, a crafter looking for a new project, or someone who wants a handmade wreath for the front door, the process is the same.
This guide covers everything you need to get started: the supplies, the technique, and ideas for adapting your wreaths across different seasons. No prior experience required.
What You Need to Make a Wreath
Before you start building, gather your materials. The list is shorter than you might expect.
Wreath Frames and Bases
The frame is the skeleton of your wreath. The most common option is a wire wreath ring, which comes in flat copper coated rings or clamping (machine) rings. Flat rings are the classic choice for mossed wreaths and foliage designs. Clamping rings speed up the mossing process because the built in clamps grip the moss tightly, making them popular for florists producing wreaths at volume.
For a more natural look, you can use a grapevine, willow, or rattan base instead. These work well for dried flower wreaths and rustic styles where the base itself is part of the design.
COMMON FRAME SIZES
• 8 inch: small door wreaths, table decorations
• 10 inch: standard door wreaths, most popular all round size
• 12 inch: larger door wreaths, statement pieces
• 14 inch and above: grand entrance displays, commercial installations
If you are unsure, start with a 10 inch or 12 inch ring. These are forgiving sizes that give you enough space to work without needing huge amounts of foliage.
Foliage, Flowers and Decorations
What goes on the wreath depends on the season and the look you are going for. For a classic foliage wreath, you will need:
• Greenery: spruce, pine, eucalyptus, bay, or ivy
• Filler: berries, seed heads, dried grasses, or small cones
• Feature pieces: dried flowers, artificial blooms, ribbons, or baubles
Fresh foliage is traditional for Christmas and seasonal wreaths. For something longer lasting, dried flowers and natural materials or artificial foliage give you a wreath that holds its shape for months.
Tools and Sundries
You do not need much in the way of tools. Reel wire or stub wire is essential for binding materials to the frame. Green reel wire is the standard because it disappears into foliage. You will also need:
• Secateurs or sharp scissors for cutting stems
• Sphagnum moss (if mossing the frame first)
• Glue gun (optional, useful for securing dried elements and decorations)
• Ribbon for hanging and finishing
Step by Step: Making a Foliage Wreath
This method works for fresh or artificial foliage. It is the foundation technique that most other wreath styles build on.
Preparing Your Materials
1. Cut your foliage into sprigs. Aim for pieces roughly 15 to 20cm long. Remove any leaves from the bottom few centimetres of each stem so you have a clean end to work with.
2. Sort your materials into groups. Lay out your greenery, filler, and feature pieces separately. This saves time when you are building and stops you reaching for the wrong thing mid flow.
3. If mossing, do it first. Take handfuls of damp sphagnum moss and pack them around the wire frame, binding with reel wire as you go. The moss layer creates volume, holds moisture for fresh materials, and gives stems something to grip into.
Building the Base Layer
4. Attach your reel wire to the frame. Wrap it tightly around one point and leave the reel hanging. You will use this continuously as you work around the ring.
5. Lay your first bundle of foliage on the frame. Fan out three to five sprigs so they overlap slightly and point in the same direction. Wrap the reel wire firmly around the stems two or three times to secure them.
6. Add the next bundle. Place it so the leafy ends cover the stems of the first bundle. Wrap with wire again. Keep working in the same direction around the ring.
7. Continue until you complete the circle. When you reach the start, tuck the final bundle under the first one so there is no visible gap. Secure with wire and cut.
Adding Texture and Depth
8. Add your filler materials. Tuck berries, seed heads, or small cones into the foliage, securing with wire or a dab of hot glue. Distribute these evenly rather than clustering them in one spot.
9. Place your feature pieces. If you are using dried flowers, baubles, or other focal elements, position them at roughly even intervals. Odd numbers (three or five feature pieces) tend to look more natural than even numbers.
10. Step back and check balance. Hold the wreath up or hang it. Look for thin spots, gaps, or areas where the weight is uneven. Fill any gaps with extra sprigs of greenery.
Finishing Touches
11. Add a hanging loop. Bend a length of stub wire into a U shape, push the ends through the back of the wreath, and twist to secure. Or tie a loop of ribbon to the frame.
12. Trim any stray ends. Snip anything that sticks out at an odd angle or looks untidy from the front.
That is it. Your first wreath is done.
Making a Floral Wreath
For a flower heavy wreath, the process changes slightly. Instead of binding foliage bundles with wire, you will typically use a mossed or floral foam base and push stems directly into it.
Soak a foam wreath ring in water until it sinks naturally (do not force it under). Then insert stems at an angle, working from the outside edge inward. Start with your greenery to establish the shape, then add flowers in your chosen colour pattern.
Floral foam wreaths work best for fresh flower designs, sympathy tributes, and arrangements that need to hold water. For dried or artificial flower wreaths, stick with wire binding or hot glue on a natural base.
Seasonal Wreath Ideas
Spring and Easter
Light and fresh. Use pastel coloured dried flowers, pussy willow, small eggs, and soft ribbon. A natural willow or rattan base works well for the rustic spring look. Dried lavender and gypsophila make excellent filler.
Summer
Bold colours and texture. Sunflowers, dried grasses, wheat, and bright ribbon. Summer wreaths suit front doors, garden gates, and outdoor entertaining spaces. Artificial blooms hold up better in direct sunlight than fresh or dried materials.
Autumn and Harvest
Warm tones and natural texture. Use dried leaves, berries, mini pumpkins, cinnamon sticks, and pheasant feathers. Wheat and dried seed heads add height and movement. This is peak season for natural material wreaths.
Christmas
The big one. Traditional Christmas wreaths use fresh spruce, pine cones, berries, and ribbon on a mossed wire frame. Clamping rings speed up production significantly if you are making multiple wreaths for sale or workshops. Add dried orange slices, cinnamon, or baubles for variety.
Common Wreath Making Mistakes
• Working in both directions. Always build in one direction around the ring. Changing direction mid way creates visible joins where foliage points the wrong way.
• Not enough material. Thin wreaths look sparse and unfinished. Buy more foliage than you think you need. You can always save leftovers for smaller arrangements.
• Wiring too loosely. If you do not pull the reel wire tight, materials shift and the wreath loses its shape within days. Each wrap should be firm enough that nothing moves when you shake the wreath gently.
• Forgetting the back. The back does not need to be pretty, but tidy it up. Trim protruding wire ends and loose stems so the wreath sits flat against a door or wall.
• Ignoring weight. Heavy decorations pull the wreath out of shape over time. If you are adding anything with real weight, position it at the bottom where gravity helps rather than fighting against the frame.
• Skipping the moss on fresh wreaths. Moss holds moisture and extends the life of fresh foliage significantly. Without it, fresh wreaths dry out and drop needles much faster.
Where to Buy Wreath Making Supplies
Michael Dark stocks everything you need to get started. Browse wire wreath frames in flat, clamping, cross, and heart shapes, all supplied in Floralcraft trade packs with volume discounts.
For materials, explore the dried flowers and natural materials range, or browse artificial foliage for wreaths that last all year. All orders over £75 qualify for free UK delivery.
